github 認証や google 認証など、アプリケーションへ既存の所有アカウントを利用してのログインを提供する機能に OAuth 認証があります。
今回は github 認証の実装を確認し、独自のプロバイダとそこへのクライアントを作成してみます。
目次 参考 github 認証するクライアントを作る devise を導入したユーザー認証する環境を用意 毎度、User モデルを認証する環境を作っているので、割愛。Ruby on Rails での認証(Devise ライブラリ) を参照してもらえるといい。
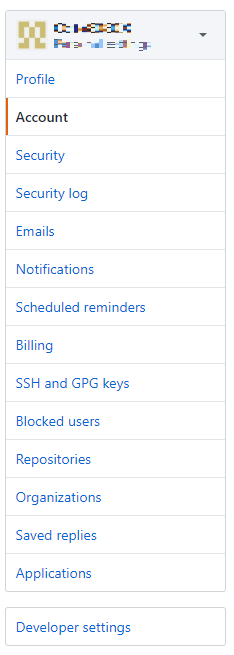
Client id と Client secret を入手 github にログインし、設定を開き「Developer settings」に進みます。
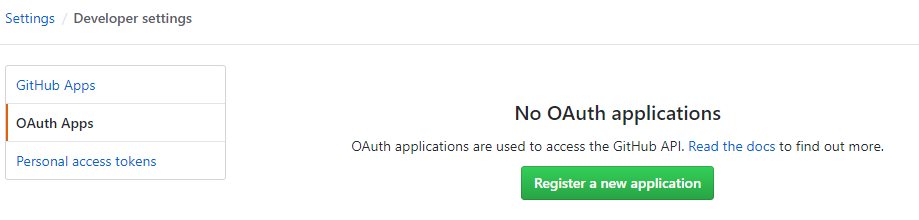
「Register a new application」からアプリケーションを登録します。
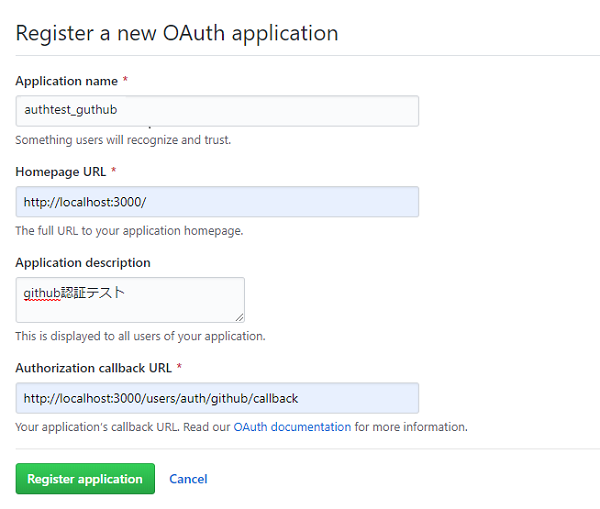
必要情報を登録します。
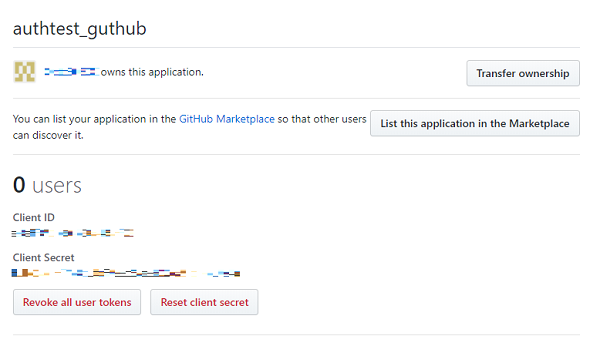
作成できた Client id と Client secret を控えておきます。
omniauth を導入する それでは、github 認証を行うにあたって必要な gem omniauth を導入してみる。
Gemfile 1 2 gem 'omniauth' gem 'omniauth-github', github: 'omniauth/omniauth-github', branch: 'master'
config/initializers/devise.rbを編集してプロバイダに github を登録します。
config/initializers/devise.rb 1 2 3 4 5 6 7 8 Devise .setup do |config | config.omniauth :github , 'Client id' , 'Client secret' , scope: 'user,public_repo' end
User モデルに、omniauth 用のカラムを追加します。
マイグレーションファイル 1 2 3 4 5 6 class AddColumnsToUsers < ActiveRecord::Migration [5.2 ] def change add_column :users , :provider , :string add_column :users , :uid , :string end end
app/models/user.rbを以下のように編集します。
app/models/user.rb 1 2 3 4 5 6 7 8 9 10 11 12 13 14 15 16 17 18 19 20 class User < ApplicationRecord devise :database_authenticatable , :registerable , :recoverable , :rememberable , :validatable , :omniauthable def self .find_for_github(auth) user = User .find_or_create_by(provider: auth.provider, uid: auth.uid) return user unless user.new_record? user.uid = auth.uid user.email = "#{auth.uid} -#{auth.provider} @fromgithub.com" user.password = Devise .friendly_token[0 , 20 ] user.save user end end
続いて github 認証後に実行されるコールバック処理を作成します。app/controllers/omniauth_collbacks_contoroller.rbを以下の通り作成します。
app/controllers/omniauth_callbacks_contoroller.rb 1 2 3 4 5 6 7 8 9 10 11 12 class OmniauthCallbacksController < Devise::OmniauthCallbacksController def github @user = User .find_for_github(request.env['omniauth.auth' ]) if @user .persisted? sign_in_and_redirect @user , event: :authentication else session["devise.github_data" ] = request.env["omniauth.auth" ] redirect_to new_user_registration_url end end end
作成したコールバック処理に転送されるように以下のようにルーティングを設定します。
config/routes.rb 1 2 3 4 5 Rails .application.routes.draw do devise_for :users , :controllers => { :omniauth_callbacks => "omniauth_callbacks" } end
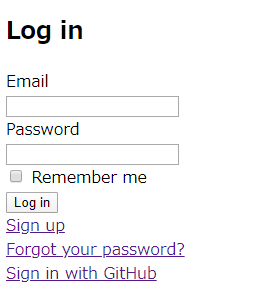
github 認証確認 アプリケーションを起動し、http://localhost:3000/users/sign_inにアクセスします。
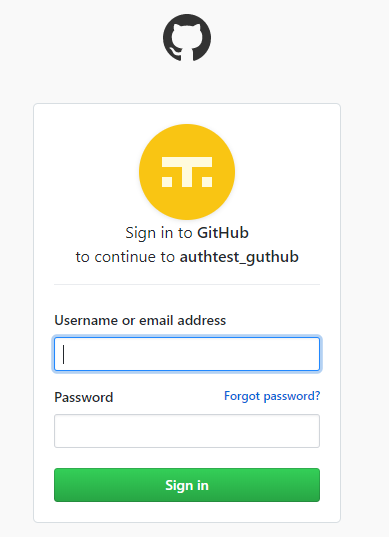
「Sign in with Github」をクリックします。
認証できると、devise でアプリケーションで設定したログイン後のリダイレクト先(何もしなければ root)にリダイレクトされます。
データベースを参照すると、User が 1 件増えていることが確認できます。
github 認証を実装できました。
プロバイダーを作ってみる github 認証を実装できました。
devise を導入したユーザー認証する環境を用意 こちらでも devise を使ったユーザー認証をする環境が必要なので、作成します。Ruby on Rails での認証(Devise ライブラリ) を参照してもらえるといい。
ポート変更 ポート 3000 番で立ち上げるクライアントと同居させるので、プロバイダ側のポートを変更します。
config/puma.rb 1 port ENV .fetch("PORT" ) { 5000 }
OAuth で使うカラムを追加 User モデルに、uidカラムを追加します。
マイグレーションファイル 1 2 3 4 5 class AddColumnsToUsers < ActiveRecord::Migration [5.2 ] def change add_column :users , :uid , :string end end
追加した uid を設定するため、データが追加されたときに、uid を設定するようにしておきます。
app/models/user.rb 1 2 3 4 5 6 7 8 9 10 11 12 class User < ApplicationRecord devise :database_authenticatable , :registerable , :recoverable , :rememberable , :validatable after_create :set_uid def set_uid update(uid: Digest : :SHA512 .hexdigest(id.to_s)) end end
doorkeeper を導入 OAuth のプロバイダの仕組みを提供する gem、doorkeeperを導入します。
Gemfile gem が導入できたら、以下の手順で doorkeeper 用のマイグレーションまで進めます。
1 2 3 bundle exec rails g doorkeeper:install bundle exec rails g doorkeeper:migration bundle exec rails db:migrate
config/initializers/doorkeeper.rbが作成されているので、
config/initializers/doorkeeper.rb 1 2 3 4 5 6 7 8 9 10 11 12 13 14 15 16 17 18 Doorkeeper .configure do orm :active_record resource_owner_authenticator do session[:return_to ] = request.fullpath current_user | end admin_authenticator do end access_token_expires_in 2 .hours force_ssl_in_redirect_uri false end
セッション作成時に、認証を要求したクライアントへリダイレクトする設定を作成します。
1 bundle exec rails g controller users /sessions
app/controllers/users/sessions_controller.rbが作成されるので、以下の様に編集します。
app/controllers/users/sessions_controller.rb 1 2 3 4 5 6 7 8 9 10 11 12 13 14 class Users::SessionsController < Devise::SessionsController def create self .resource = warden.authenticate!(auth_options) set_flash_message(:notice , :signed_in ) if is_flashing_format? sign_in(resource_name, resource) yield resource if block_given? if session[:return_to ] redirect_to session[:return_to ] session[:return_to ] = nil else respond_with resource, location: after_sign_in_path_for(resource) end end end
続いて、データを提供する API を作成します。
app/controllers/api/api_controller.rbapp/controllers/api/users_controller.rb
app/controllers/api/api_controller.rb 1 2 3 4 5 6 class Api::ApiController < ApplicationController private def current_resource_owner User .find(doorkeeper_token.resource_owner_id) if doorkeeper_token end end
app/controllers/api/users_controller.rb 1 2 3 4 5 6 7 8 class Api::UsersController < Api::ApiController before_action :doorkeeper_authorize! respond_to :json def info respond_with current_resource_owner end end
最後に、ルーティングの設定を行います。config/routes.rbを以下のように編集します。
config/routes.rb 1 2 3 4 5 6 7 8 9 Rails .application.routes.draw do use_doorkeeper devise_for :users , controllers: { sessions: 'users/sessions' } namespace :api do get '/info' => 'users#info' end end
プロバイダ確認 アプリケーションを起動し、http://localhost:5000/users/sign_inにアクセスします。
テーブルを確認して、uidが追加されていることを確認しておきます。
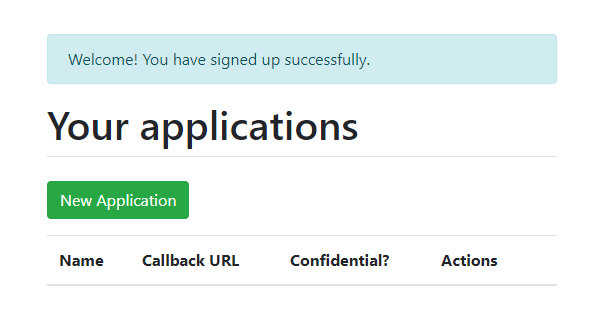
続いてhttp://localhost:5000/oauth/applicationsにアクセスします。
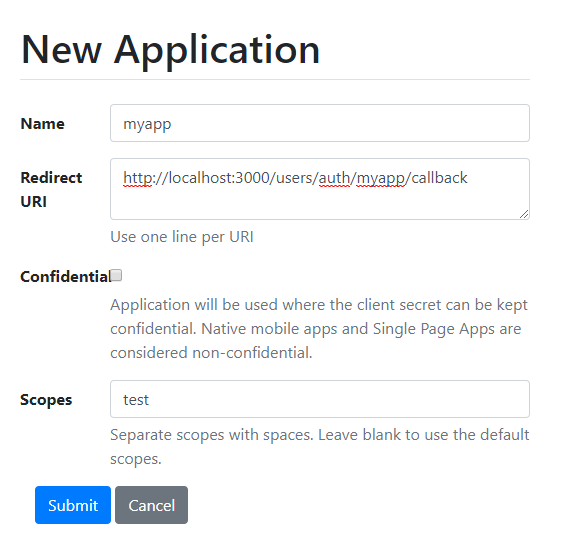
以下のように設定して、登録しておきます。
UID と Secret を控えておきます。
プロバイダを作成して、次に作るアプリケーションを登録できました。
自作プロバイダに対して、OAuth 認証してみる 最初に作成した github 認証したアプリケーションを自作したプロバイダでも認証できるようにします。
自作プロバイダを認証できるように調整する。 必要な gem omniauth-oauth2 を導入します。
Gemfile omniouth が提供しないプロバイダで認証するには、ストラテジを自作する必要があります。
lib/omniauth/strategies/myapp.rb 1 2 3 4 5 6 7 8 9 10 11 12 13 14 15 16 17 18 19 20 21 22 23 24 25 26 27 28 require 'omniauth-oauth2' module OmniAuth module Strategies class Myapp < OmniAuth::Strategies::OAuth2 option :name , 'myapp' RAW_INFO_URL = 'api/info' uid { raw_info['uid' ] } info do { email: raw_info['email' ], name: raw_info['name' ] } end extra do { raw_info: raw_info } end def raw_info @raw_info |JSON .parse(access_token.get(RAW_INFO_URL ).response.body) end end end end
config/initializers/devise.rb を編集して myapp をプロバイダとして登録します。
config/initializers/devise.rb 1 2 3 4 5 6 7 8 9 10 11 12 13 14 15 16 17 18 require File .expand_path('../../../lib/omniauth/strategies/myapp' , __FILE__ )Devise .setup do |config | config.omniauth :github , 'Client id' , 'Client secret' , scope: 'user,public_repo' config.omniauth :myapp , 'UID' , 'Secret' , client_options: { site: 'http://localhost:5000' }, strategy_class: OmniAuth : :Strategies : :Myapp , scope: "test" end
app/models/user.rb を編集して、myapp 用の処理を作ります。
app/models/user.rb 1 2 3 4 5 6 7 8 9 10 11 12 13 14 15 16 17 18 class User < ApplicationRecord def self .find_for_myapp(auth) user = User .find_or_create_by(provider: auth.provider, uid: auth.uid) return user unless user.new_record? user.uid = auth.uid user.email = "#{auth.uid} -#{auth.provider} @myapp.com" user.password = Devise .friendly_token[0 , 20 ] user.save user end end
app/controllers/omniauth_callbacks_controller.rb を編集して myapp 用の処理を追加します。
app/controllers/omniauth_callbacks_controller.rb 1 2 3 4 5 6 7 8 9 10 11 12 13 14 15 16 17 18 19 20 21 22 23 class OmniauthCallbacksController < Devise::OmniauthCallbacksController def github @user = User .find_for_github(request.env['omniauth.auth' ]) if @user .persisted? sign_in_and_redirect @user , event: :authentication else session["devise.github_data" ] = request.env["omniauth.auth" ] redirect_to new_user_registration_url end end def myapp @user = User .find_for_myapp(request.env['omniauth.auth' ]) if @user .persisted? sign_in_and_redirect @user , event: :authentication else session["devise.github_data" ] = request.env["omniauth.auth" ] redirect_to new_user_registration_url end end end
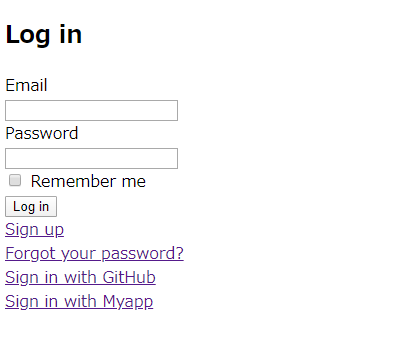
自作プロバイダで認証確認 クライアント側のアプリケーションで/users/sign_inにアクセスすると、「Sign in with Myapp」というリンクが増えているので、こちらにアクセスします。
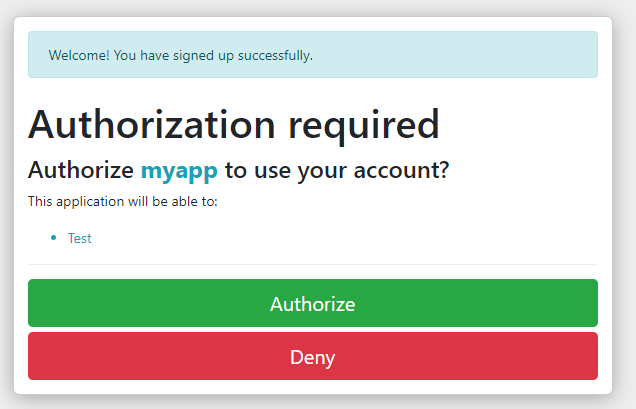
すると、次のようにアクセスを許可するかの画面が表示されます。
すると、クライアントのログイン後のリダイレクト先に戻ります。
データベースを確認すると、クライアントの user にプロバイダの user と uid の同じものが作成されています。
自作のプロバイダで認証できました。
github と自作プロバイダで OAuth 認証をしてみました。
参照している資料そのままの部分の多いのですが、自身で認証のプロバイダの実装をしてみることで、ただ使っているだけよりも理解が深まったと感じます。
何かサービスを作ることがあれば、今回のようにユーザーの管理をプロバイダに任せ、アプリケーションを分離させるのもよさそうです。
認証を以外の使い方も試みてみたいところです。
ではでは。